June 26, 2026
Repotting a Phalaenopsis Orchid Step by Step
When to repot a Phalaenopsis, which tools to use, how to check roots, and how to place it in fresh potting mix.
By Vigi
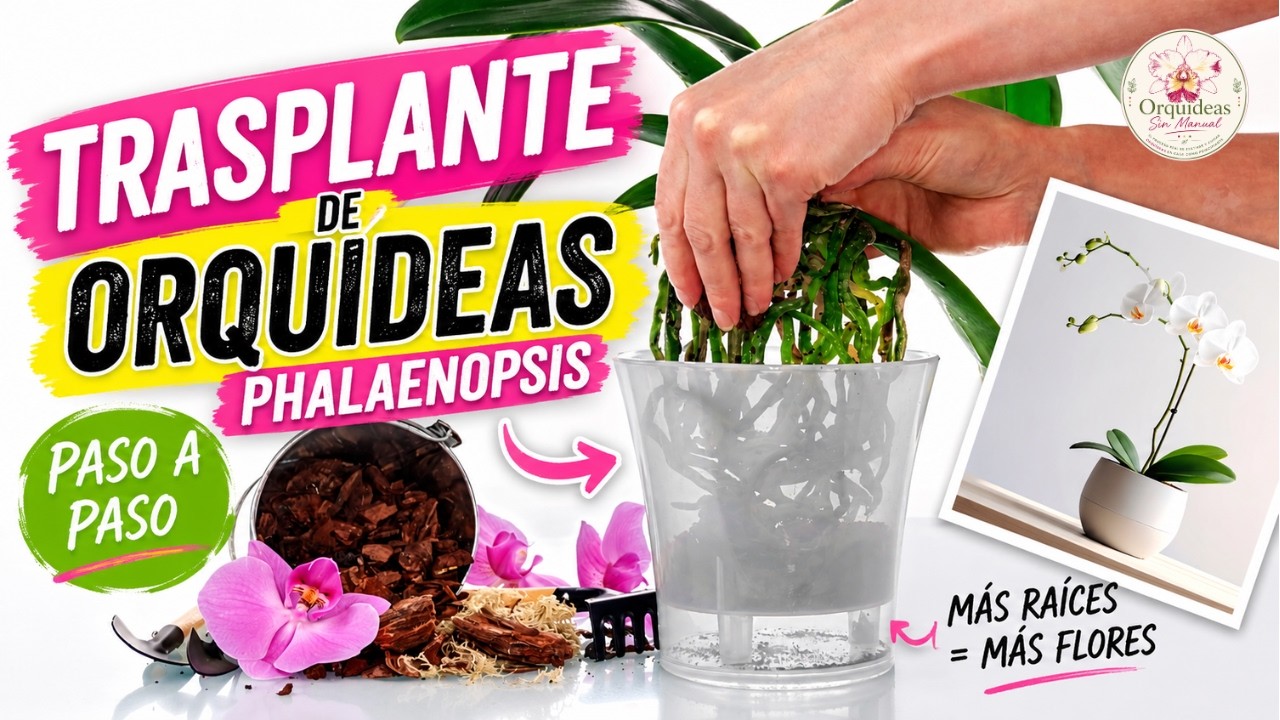
Repotting a Phalaenopsis orchid can feel intimidating the first time. The roots look delicate, the potting mix seems complicated, and it is normal to wonder whether you are helping the plant or stressing it too much.
The key is to work patiently, choose the right moment, and avoid cutting more than necessary. A good repot refreshes the potting mix, improves aeration, and lets you check the real condition of the roots.
When Should You Repot?
Not every orchid needs to be repotted as soon as it gets home. Repot when there is a clear reason:
- The potting mix is old, broken down, or compacted.
- The pot takes too long to dry.
- There is a damp or rotten smell.
- The roots are crowded or in poor condition.
- The plant has finished blooming and is starting active growth.
If the plant is in full bloom and there is no emergency, it is usually better to wait. Repotting disturbs roots and can make flowers or buds drop sooner.
The Best Stage: Active Growth
The ideal moment is often the vegetative stage, when the Phalaenopsis is producing new roots or new leaves. At that point, the plant can adapt to fresh potting mix more easily.
Active roots often have green or reddish growing tips. That is a sign of growth, and after repotting those roots can continue into the new mix with less difficulty.
Tools You Will Need
Prepare everything before removing the plant from its pot:
- Sharp scissors or pruners.
- Alcohol to disinfect tools.
- A clear pot with good drainage.
- Fresh orchid potting mix.
- A stake if the plant needs support.
- A container with clean water for rinsing roots if needed.
Having everything ready keeps the orchid from staying out of the pot too long.
What Potting Mix Should You Use?
Phalaenopsis orchids should not be planted in regular soil. Their roots need air and drainage. A simple mix can include pine bark and, depending on your environment, a little sphagnum moss or charcoal.
If your home is very dry, some moss can help retain moisture. If your environment is humid or pots take too long to dry, a more open and airy mix is safer.
The important thing is that the mix supports the plant, allows airflow, and does not stay constantly soaked.
Disinfect Before Cutting
Before touching roots, disinfect scissors or pruners with alcohol. This reduces the risk of transferring fungi, bacteria, or other problems from one plant to another.
It also helps to work on a clean surface. Repotting does not need to be laboratory-perfect, but it should be orderly and careful.
Remove the Plant Patiently
Gently squeeze the pot if it is flexible and move the plant from the base, without pulling on the leaves. If some roots are attached to the pot, loosen them slowly.
It is not a disaster if an old root breaks, but avoid forcing healthy active roots. The goal is to remove the plant with as little damage as possible.
Remove the Old Potting Mix
Take out the old bark with your fingers, little by little. Sometimes pieces stay stuck between the roots; you do not need to tear them away if doing so will break healthy roots.
If the mix is badly broken down, wet, or smells bad, remove as much as you can. That material no longer helps the plant and can hold too much moisture around the roots.
Rinse and Check the Roots
You can rinse the roots with clean water so it is easier to see which ones are healthy and which ones are not. Healthy roots usually feel firm, even though their color changes depending on whether they are wet or dry.
Only cut roots that are clearly:
- Dry and hollow.
- Brown or black.
- Soft or rotten.
- No longer firm to the touch.
Do not cut healthy roots just because they do not look perfect. Every useful root helps the plant recover after repotting.
Clean the Base if There Is Dead Material
At the base of the plant, you may find dry material, old leaf remains, or dead tissue. Remove what comes away easily, but do not tear living tissue.
This cleaning helps you see the crown more clearly and reduces places where moisture can collect.
Place the Plant in the New Pot
Position the Phalaenopsis so it is stable, with the base above the potting mix level. Do not bury the crown. The roots should sit inside the pot without being crushed.
If the plant moves too much, use a stake to support it while it adapts.
Fill With Mix Without Over-Compacting
Add the potting mix little by little around the roots. Tap the pot gently so the bark settles, but avoid pressing hard.
The roots need air. If the mix is packed too tightly, ventilation drops and the pot may take longer to dry.
First Watering After Repotting
If the roots were handled heavily or you cut several damaged parts, you can wait a little before watering, depending on the plant’s condition and the moisture in the mix. If you do water, make sure everything drains completely.
After repotting, place the orchid in bright indirect light and avoid fertilizing immediately. Give it a few days to adjust.
In Summary
A good repot is not about making the plant look perfect. It is about giving it better conditions to keep growing.
Remember:
- Repot when there is a clear reason.
- Use the active growth stage when possible.
- Use airy orchid mix, not soil.
- Disinfect tools.
- Cut only dead or rotten roots.
- Do not bury the crown.
- Let the plant adapt calmly.
With patience, repotting stops feeling like an emergency and becomes a normal part of caring for your Phalaenopsis orchids.