June 22, 2026
First Steps After Buying an Orchid
What to do when you bring home a new Phalaenopsis: inspection, watering, cleaning, placement, and quarantine without stress.
By Vigi
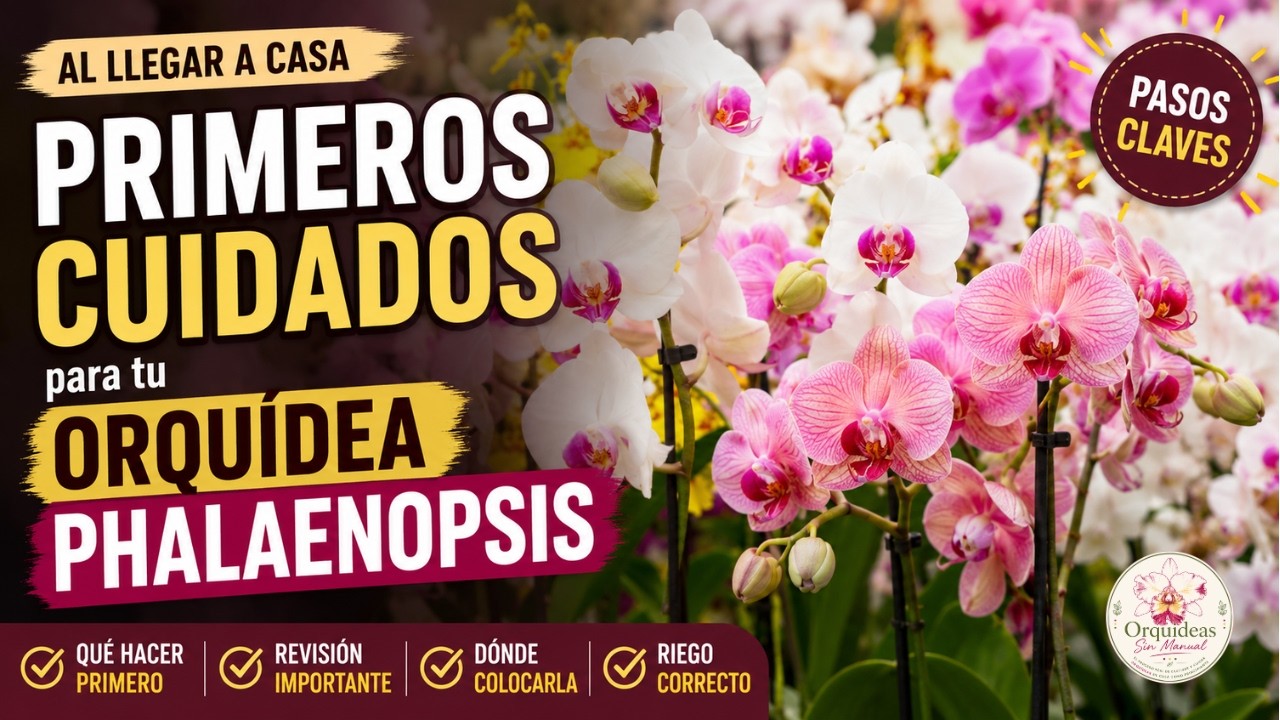
Buying a new orchid is exciting. You bring it home and immediately want to arrange it, water it, clean it, place it with your other plants, and make everything perfect from day one. But with Phalaenopsis orchids, doing too much at once can stress the plant more than help it.
The first few days are not about changing everything. They are about observing, checking, and helping the orchid adjust calmly to its new environment.
1. Remove the Transport Plastic
If the plant comes wrapped in decorative or protective plastic, remove it first. That wrap may look nice, but it reduces airflow around the leaves, flowers, and potting mix.
A Phalaenopsis needs air. If the plant stays enclosed for too long, moisture can build up and encourage spots, fungal issues, or rot, especially near the crown and between the leaves.
Remove the plastic gently so you do not break flowers, buds, or spikes. If it is tight, cut it little by little instead of pulling hard.
2. Inspect the Whole Plant
Before deciding whether to water, clean, or move the orchid, look at it calmly. This first inspection helps you notice problems you may not have seen in the store.
Check especially:
- The base of the leaves and the crown.
- The underside of the leaves.
- Visible roots inside the pot.
- The potting mix.
- Flowers, buds, and flower spikes.
Look for pests, black spots, soft areas, rotten roots, yellowing from the base of a leaf, or any part with a bad smell. You do not need to panic if you find one dry root or an old leaf, but it helps to know the plant’s condition from the beginning.
3. Do Not Water Automatically
One of the most common mistakes is watering as soon as the orchid gets home. We do it with good intentions, but many orchids have already been watered at the store or nursery.
Before adding water, check:
- Whether the roots are green or silvery.
- Whether the potting mix looks dark and damp.
- Whether the pot feels heavy.
- Whether there is condensation inside a clear pot.
If there is still moisture, wait. A Phalaenopsis handles being slightly dry better than staying constantly wet. Too much water, especially while the plant is adapting, can cause root rot.
Only water if the potting mix is dry, the pot feels light, and the roots clearly show that they need water.
4. Remove Clearly Dead Visible Roots Only if Needed
If you see a root outside the pot that is completely dry, hollow, or dead, you can remove it with disinfected scissors. But avoid taking the plant apart or removing all the potting mix just out of curiosity.
Important: a silvery root is not necessarily dead. Many healthy roots look silvery when dry. Cut only roots that are hollow, soft, completely dry, or clearly rotten.
Immediate repotting is not always necessary. If the plant is stable, the mix does not smell bad, and the roots look reasonably healthy, it is usually better to let it adapt first.
Only handle what is obvious and avoid disturbing healthy roots. Active roots are delicate, and unnecessary damage slows adaptation.
5. Clean the Leaves Carefully
The leaves may have dust, water marks, or store residue. You can clean them with a soft, slightly damp cloth without soaking the plant.
Avoid leaving water:
- In the center of the crown.
- Between the leaves.
- At the base of the stem.
Leaves have stomata, small structures involved in gas exchange. You do not need harsh products or leaf shine sprays. Gentle cleaning is enough.
If water remains between the leaves, dry it with clean paper towel or a soft cloth.
6. Choose a Bright but Protected Spot
After the inspection, place the orchid near a bright window with plenty of indirect light and no strong direct sun. Morning light is often ideal.
Avoid placing it:
- Next to radiators or heaters.
- In front of air conditioning.
- In strong drafts.
- In a dark corner far from a window.
- In direct midday or afternoon sun.
During the first days, try not to move it constantly. Choose a reasonable spot and observe how it responds.
7. Quarantine Before Placing It With Your Other Plants
Even if the orchid looks healthy, it is wise to keep it separate from your other plants for a while. Some pests or problems are not visible on the first day.
A simple quarantine means placing the new plant in a separate area, checking it every few days, and confirming that no insects, new spots, or sudden decline appear.
This protects your collection and gives you time to understand the plant before adding it to the rest.
Arrival Checklist
When you buy a new Phalaenopsis, follow this order:
- Remove the transport plastic.
- Check leaves, roots, potting mix, crown, and flowers.
- Do not water if there is still moisture.
- Cut only clearly dead visible roots.
- Clean leaves gently and dry any trapped water.
- Place it in bright indirect light.
- Quarantine before placing it with other plants.
The goal is not to do everything perfectly on the first day. It is to give the orchid a calm arrival, avoid mistakes made from excitement, and observe what the plant actually needs.