July 4, 2026
Disinfecting Orchid Potting Mix
Three ways to disinfect orchid potting mix, their benefits and risks, and the heat method I use at home.
By Vigi
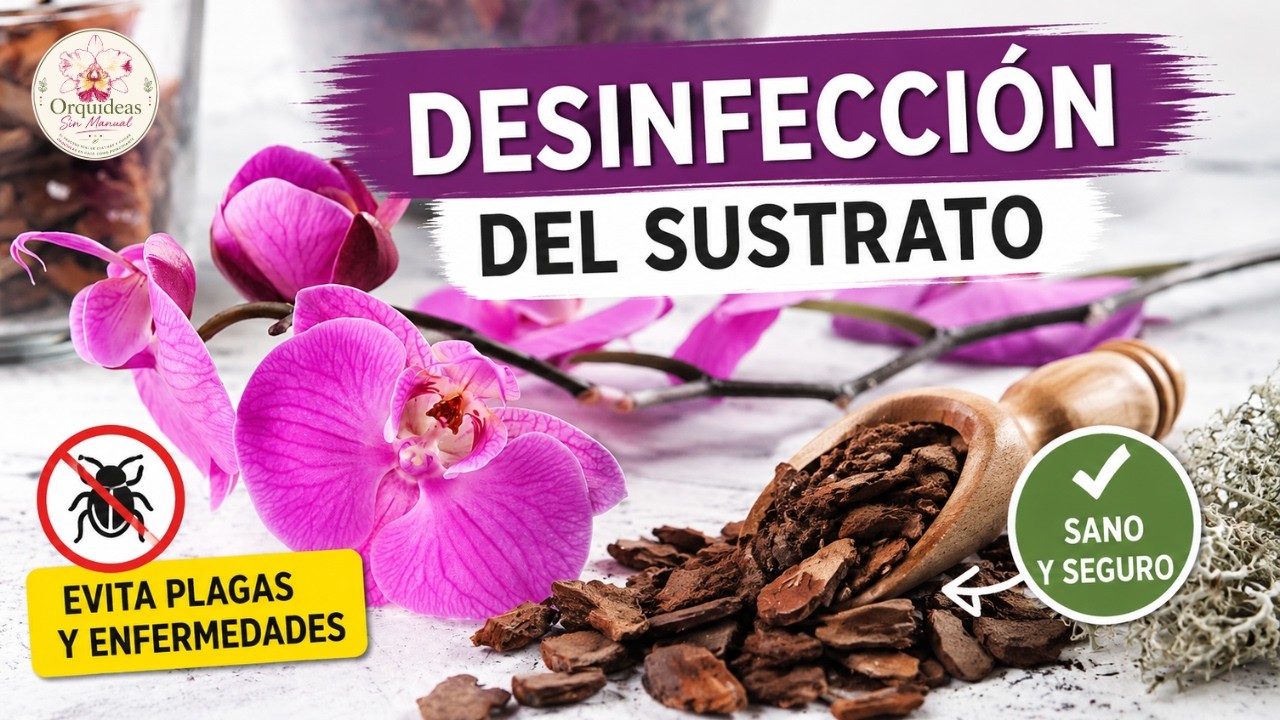
When preparing an orchid for repotting, we usually think about the pot, the roots, and the type of bark. But there is another step that can help: preparing the potting mix properly before using it.
Disinfecting potting mix does not mean making orchid care complicated. The idea is to reduce fungi, bacteria, insects, or other unwanted organisms that could affect delicate roots, especially after repotting.
Do You Always Need to Disinfect Potting Mix?
Not every grower does it, and it is not always necessary. If you buy good-quality potting mix, store it well, and use it quickly, the risk may be lower.
Still, many people prefer to disinfect it as a preventive step, especially when:
- The bag has been open for a long time.
- The bark contains dust, debris, or moisture.
- You are repotting a weak plant.
- You have had previous fungal, insect, or rot problems.
- You want to reduce risks before handling sensitive roots.
Disinfection does not replace proper watering, good ventilation, or a suitable pot. It is simply one more layer of prevention.
Method 1: Alcohol
One option some people consider is using alcohol to disinfect. It can be useful for tools, surfaces, or cuts, but it has several problems when used on potting mix.
Benefits
- It is easy to find.
- It works quickly on surfaces.
- It is very useful for disinfecting scissors or pruners.
Drawbacks
- It can be difficult to distribute evenly through all the bark.
- It may leave residue if it does not evaporate completely.
- It is flammable.
- It is not the most comfortable or safest method for larger amounts of mix.
That is why, although alcohol is excellent for tools, it is not my favorite option for preparing orchid bark.
Method 2: Boiling Water
Another common option is covering the potting mix with boiling water or boiling it for a few minutes. It is easy to understand and does not require special equipment.
Benefits
- It is accessible.
- It helps reduce unwanted organisms.
- It can also hydrate the bark before repotting.
Drawbacks
- The bark becomes very wet.
- It can take a long time to drain and cool.
- If it does not dry enough, it may hold too much moisture at first.
- Preparing large amounts can be inconvenient.
This method can work, but the potting mix needs to drain very well before use. You do not want to repot an orchid into a soaked mix.
Method 3: Heat in the Oven
The method I prefer is using heat in the oven, especially with pine bark. It gives me more control over temperature and lets me prepare the mix without leaving it excessively wet.
The goal is not to burn the bark or cook it until it is damaged. The goal is to apply enough heat to reduce risk while keeping the structure of the material intact.
Step by Step With Bark
1. Wash the Bark
Before applying heat, rinse the bark with water to remove dust, small debris, and loose particles. This makes the mix cleaner and easier to use.
2. Let Excess Water Drain
After washing it, let it drain well for 30 minutes to 1 hour. It does not need to become completely dry, but it is better to remove excess water before placing it in the oven.
3. Preheat the Oven
Preheat the oven to about 80 ºC for 5 to 10 minutes before adding the bark. This helps the temperature become more stable before the potting mix goes in.
The idea is to work with moderate heat. You are not trying to cook or burn the bark, only to apply enough heat to reduce the load of microorganisms present.
4. Spread the Mix on a Tray
Place the bark in a fairly even layer on an oven-safe tray. If it is piled too high, the heat will not reach it evenly.
5. Heat It While Watching Closely
Once the oven is warm, place the tray inside and raise the temperature slightly to about 90 ºC. Depending on the amount of bark, keep it in the oven for 30 to 45 minutes.
I do not recommend going above 100 ºC. Above that temperature, the bark has a higher risk of starting to deteriorate or even burn. During the process, keep an eye on the mix and do not leave it unattended. If you notice a strong smell, smoke, or signs of burning, stop the process.
The goal is controlled heat, not carbonized bark.
6. Let It Cool Completely
When it is done, remove the tray carefully and let the bark cool completely before using it. Never place hot potting mix in contact with roots.
Why I Prefer Heat
I prefer this method because it gives me more control and lets me prepare bark without saturating it with water. Once it cools, the mix is ready to combine or use depending on what the plant needs.
That does not mean it is the only correct method. It is simply the one that best fits how I prepare repotting materials at home.
Important Precautions
Before trying any method, remember:
- Do not use extreme temperatures.
- Do not leave the oven unattended.
- Do not use hot potting mix.
- Do not go above 100 ºC with pine bark.
- Do not mix clean potting mix with dirty tools.
- Do not reuse mix from sick plants without carefully considering the risk.
It also helps to prepare only the amount you need or store clean mix in a dry, protected container.
In Summary
Disinfecting potting mix can help reduce risks before repotting, especially if the plant is delicate or the material has been open for a long time.
The three common methods each have benefits and drawbacks:
- Alcohol is useful for tools, but it is not my favorite for bark.
- Boiling water is accessible, but it leaves the mix very wet.
- Oven heat gives more control and is the method I prefer for bark.
As always with orchids, the point is not to make care complicated. It is to work calmly, reduce avoidable mistakes, and give the roots a cleaner, airier, safer environment.